Zoom Tips for Musicians

Why should we care??
Aren’t we going to be back in-person sometime (relatively) soon? Why do we need to be good at this Zoom thing?
Yes, I agree that we are soon going to be back interacting, teaching, learning, and performing in-person. However, I believe that the world that we will go back to is going to be much more integrated with digital and online platforms. Zoom and Google Meet and WebEx (why not Skype?!) are going to be much more prominent and we want to be able to present ourselves accurately and professionally. I envision more job interviews, lessons, classes and webinars happening in the future, and if we are able to develop and practice our skills now, we can be prepared for our future world!
Getting Started:
Step 1: Solid internet connection
The internet is becoming our last lifeline of connection with each other. There are definite equity issues inherent in internet speed and accessibility, but whatever internet is available to you, it can be improved by having a wired ethernet connection. If you are on a MacBook laptop (like me), you will need a USB-C to Ethernet adapter.
Step 2: Practice, Practice, Practice!
As with everything in music, the only way to improve is to practice. I like to spend time with my friends and colleagues practicing Zoom (one heck of a Saturday night!). With friends’ input, you can refine the visual and audio techniques that I introduce below and more. I’ve found it helpful to record these sessions and review them to tweak lighting and camera angles, audio input signals and mic placements. It is a fun new thing to improve!
Visual Tips (Video, Camera, more!)
Profile Picture
Whenever your video is not on (i.e. when you first log on or actively turn off your video) Zoom will display your name in a black box. You can customize this to show a profile picture of you. For details on how to do this, you can click here and customize much more than just your picture!
My recommendation is to have a profile picture that:
Is recognizable as you
Defines you or shows your character in some way
You definitely do not have to have a professional headshot taken just for this, but if you have one, here’s the place to use it. Here are mine:

ME! MARACAS!

I LOOK RELATIVELY FRIENDLY…
Name
It seems pretty straight forward to just use your name and be done with it. However, you are able to customize your name!
MT recommendation: change your name to what you would like to be called, which might not necessarily be your full name. Sometimes, if you are signed on through a company (or SSO), then you may be listed as your given name and not necessarily your desired name.

What’s Behind You on Camera?
What is the background of your frame? Questions to note:
Is your bed in the frame?
Are you laying down ever while on camera?
Do you have light directly behind you (either natural or artificial)?
Is there a lot of consistent movement behind you in the shot?
If you answered “Yes!” to any of the above questions, I would request that you reconsider the framing of your camera.

NOPE

NOPE
Virtual Background
Virtual backgrounds are amazing!! You can set them up in the Preferences panel of Zoom. Have fun with them and keep trolling to a minimum…

Camera Angle
I’ve found the most professional-looking angle of my camera to be at eye-level or slightly above. Nobody really needs to look up your nose during the call, so either invest in a laptop stand (a suggested one on the “GEAR” page) or stack some of your favorite books to get that camera to be the desired height.


Video on vs. off
We all need a serious break the computer screen, but if you can manage it, please try to keep your video on. The people presenting the material are desperately wanting the personal connection and feedback during their presentation, and you can help by keeping your video on and staying engaged!
Use multi-cam fun!
Multiple devices, all logged onto the same Zoom meeting, can give students a variety of views that they can curate themselves! If you are the host and “spotlight” the desired angles, then those are pinned to the main window when the students choose “Speaker View”. I usually have my laptop camera (or the external webcam mentioned on the GEAR page), my phone and my tablet all signed into the same meeting.
I label each one of them something unique: “Mike T front”, “Mike T side”, “Mike T top”. I like that students are able to get views that are not possible in a live class environment.


Pro tip
If you are signing on using mobile devices, you are unable to make the output volume absolutely mute, which may lead to feedback or a slight echo. One method is to press “Cancel” when given an option to sign into the Zoom audio on your mobile device. I have an iPhone and I can also plug in the headphone dongle without connecting headphones for the same no-echo effect!
Lighting
This is the easiest way to look great on Zoom! Want to know what I use? Click the button! —>
One simple trick to better lighting: make sure the strongest light is shining on your face. If you are sitting in front of a bright light or window, you will turn out like a member of the witness protection program…which is fine if you’re in the witness protection program (not me).

External camera
Since my laptop camera can only reach so far (and it isn’t that great to begin with) I use an external webcam to give my students up-close shots or closer footage of instruments that are further away from my computer station. I purchased a USB extension cable to allow the camera to reach the distant corners of my 12x12 room. I’ve mounted it on top of a camera tripod, but I also had luck clipping it to an extra music stand that I had in the studio.

Camera in the green circle!
AUDIO:
Audio Settings, Microphones and more!
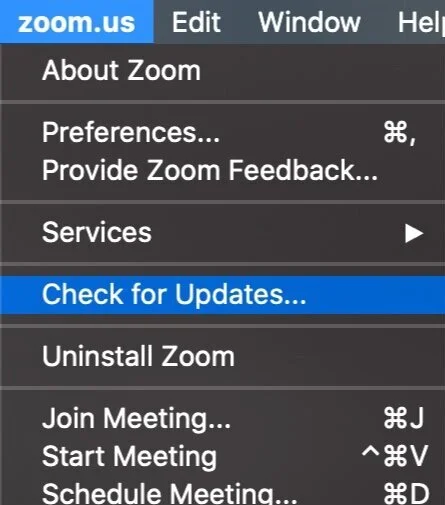
Update Zoom
The first thing to do for your audio is to update your software. Zoom recently updated its app that includes more support for music to be performed, but its only available in the newest version!
Zoom Settings for Music

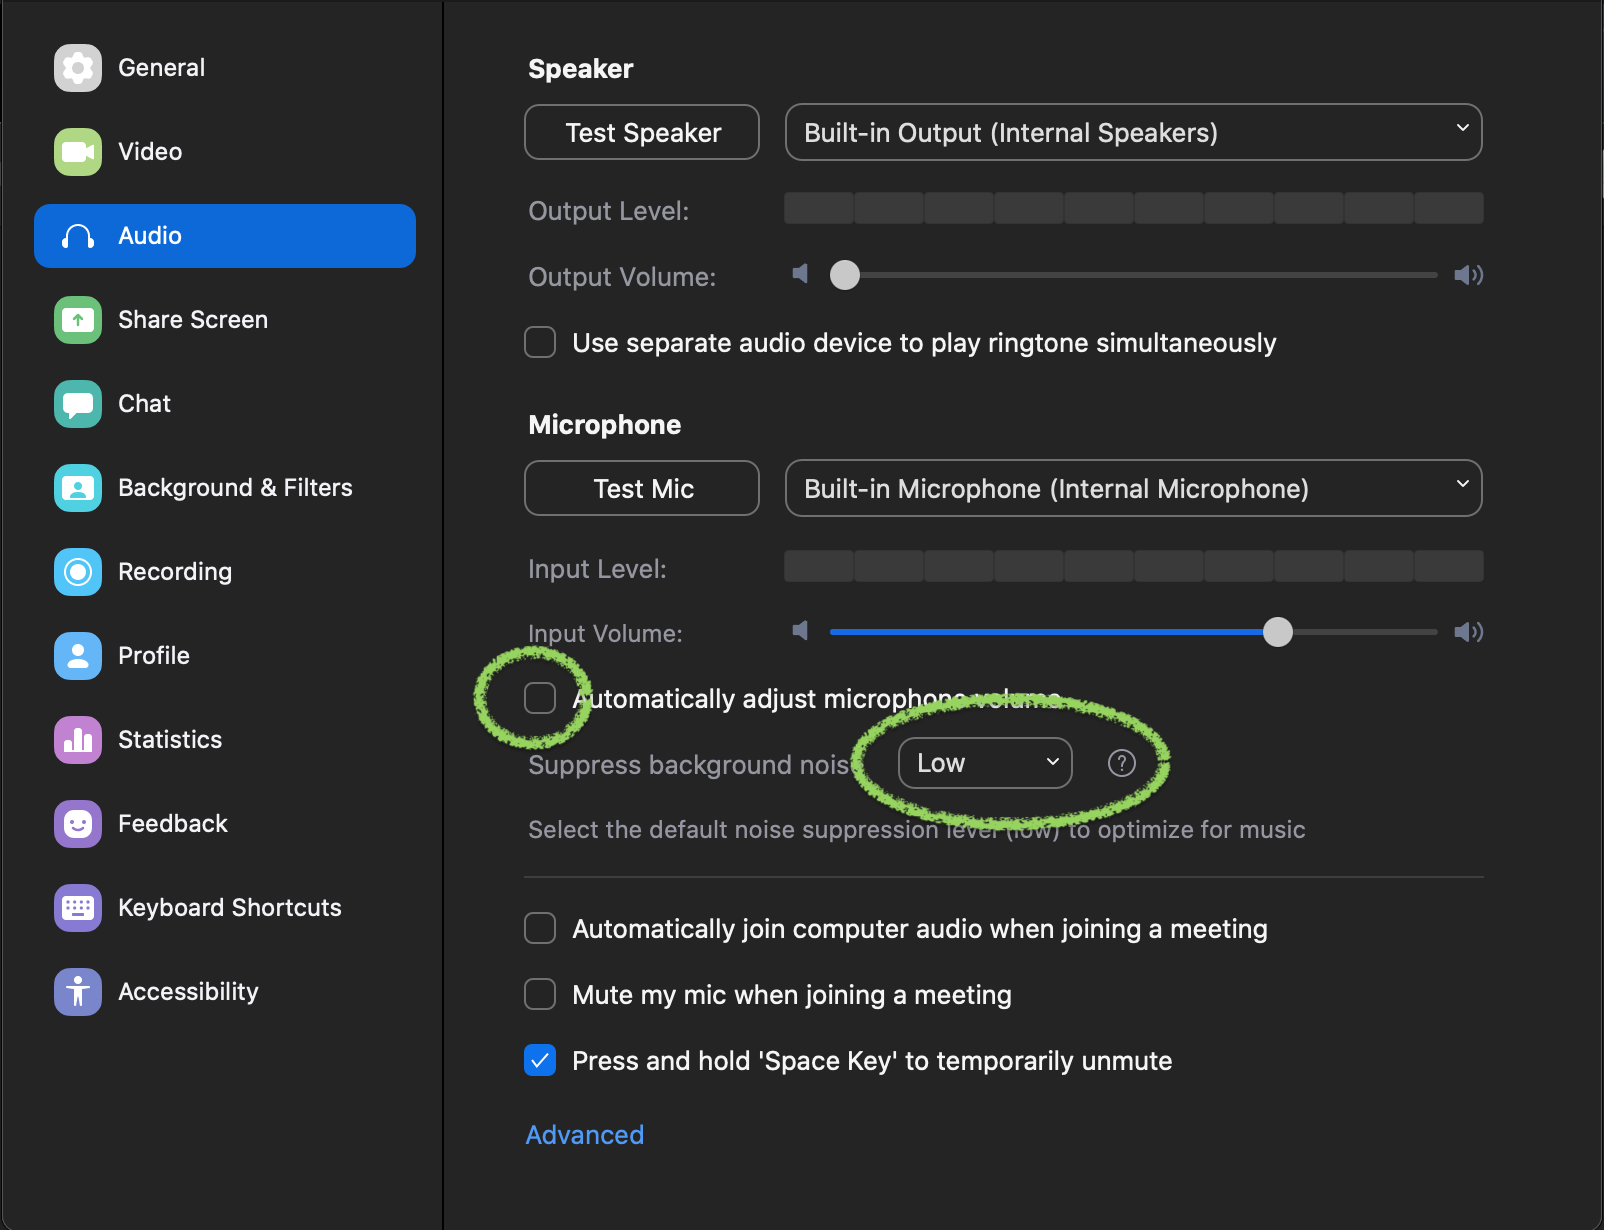
Unchecked and LOW, then click “Advanced”

All three checked in Advanced Settings
Audio Gear
Want to know what specific gear I use? Visit the GEAR page!
I have not been generally happy with the quality of my laptop internal microphone, especially for reproducing my instruments’ sound accurately. I have started to use external microphones to amplify my instruments, and that led me to using a microphone for my voice as well.
**Disclaimer: I don’t own the linked microphones above, but my student uses them and they really sound great for percussion on Zoom during his lessons.

Lavalier Microphones
I like how portable these are and the improved sound quality I get over the laptop microphone. I know that audiophiles won’t appreciate the fidelity of a lavalier mic, but it is definitely a huge improvement on laptop mics and they are portable for moving around my space, speaking while I’m playing/demonstrating and a good enough quality for my hours of Zoom every day.
I started with a wired lavalier microphone, but after getting caught up in my own XLR cables for a few months, I decided to try out a wireless pack. I am in the early stages of testing a wireless microphone and I’m having great luck so far! If needed the pack can be easily turned off (i.e. bathroom trips or if the instrument causes the lavalier to clip). Make sure you buy stock in batteries if you’re going wireless, though…
Signal Path
The signal path I use is shown in the image here. I think this is a pretty standard setup. The biggest problem that folks will run into is making sure to set the proper input and output settings. I usually use Built-in Output with my headphones and my Scarlett interface for the input. You can absolutely choose your interface for the headphones as well…maybe that’s a better choice for sound anyway.

Signal Path
Meeting Survival
As with most of us, I spend a lot of time in meetings where the information is important, but I am not there to contribute, only to absorb the information. Of course I have my note-taking app up and am actively engaged with the material, but…I can also use this opportunity to get some important technical work done!!
I’ve chosen to have a short snare stand, practice pad and sticks under my desk so that I can stay warm, work out technical ideas and still be actively listening to the meeting.

Teaching/Learning/Working from Home
Interested in more thoughts about working from home? Click the button below for more!
GEAR
Want to know the specific things I use and recommend for home teaching and learning? Click here to go to the specific page!
Contact Mike
As always, I’d love to hear from you. Click the button below to write directly to Mike.